
Popular categories
Looking for a yarn?


|
|||||||
Celebrate Winter |
|||||||
 |
 |
||||||
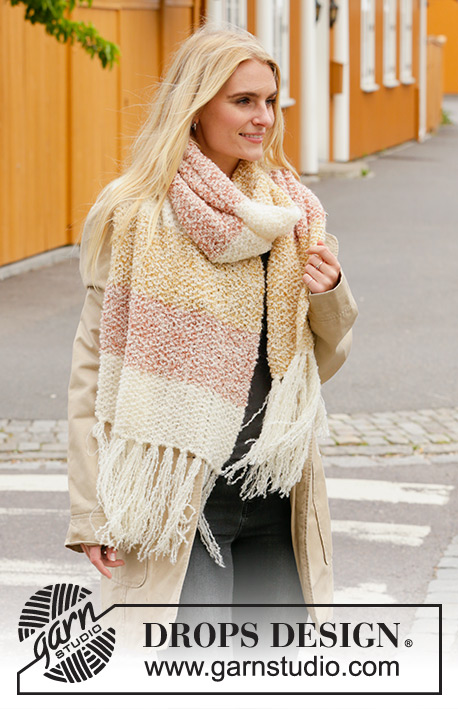
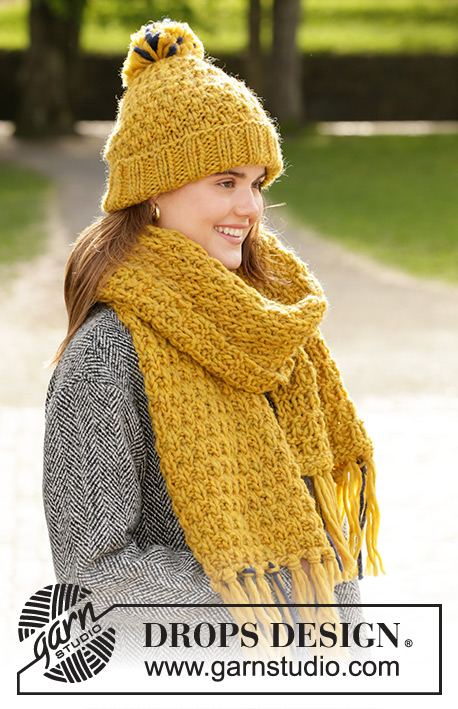
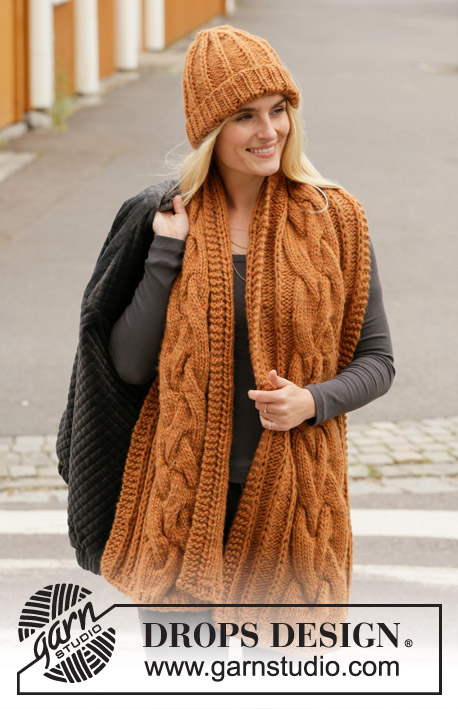
Knitted hat and scarf in DROPS Polaris. Piece is knitted with textured pattern.
DROPS 204-45 |
|||||||
|
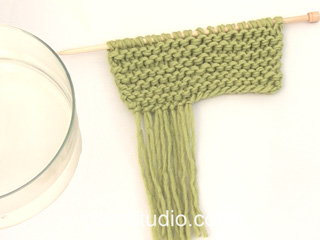
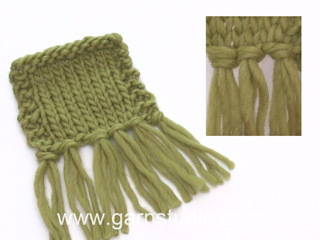
---------------------------------------------------------- EXPLANATION FOR THE PATTERN: ---------------------------------------------------------- GARTER STITCH (back and forth): Knit all rows. 1 ridge vertically = knit 2 rows. PATTERN: Hat: See diagram A.1. Scarf: See diagram A.2. Diagrams show all rows in pattern seen from the right side. DECREASE TIP (applies to hat): Decrease 1 stitch before marker thread as follows: Work until 2 stitches remain before marker thread, knit 2 together. Decrease like this at each of the 6 marker threads. ---------------------------------------------------------- START THE PIECE HERE: ---------------------------------------------------------- HAT - SHORT OVERVIEW OF THE PIECE: Work piece back and forth on circular needle and sew together when finished. HAT: Cast on 36 stitches on circular needle size 12 mm = US 17 with Polaris. Work 1 row from wrong side as follows: Knit 1, (purl 2, knit 2) until 3 stitches remain, purl 2, knit 1. Continue back and forth with knit over knit and purl over purl until 2 rows rib have been worked (= 3 rows in total with rib). Work 1 ridge in GARTER STITCH - read explanation above, over all stitches. Switch to circular needle size 15 mm = US 19. Now work pattern as follows: Work pattern A.1 over all stitches. Continue with A.1 until piece measures approx. 15 cm = 6". REMEMBER THE KNITTING GAUGE! Now insert 6 marker threads in the piece as follows: Begin from right side and insert first marker thread after 5 stitches, * skip the next 6 stitches, insert a marker thread here *, repeat from *-* 5 times in total, 1 stitch remains on row after last marker thread. Then work the rest of hat in stockinette stitch until finished measurements. On next row from right side begin decrease - read DECREASE TIP. Decrease like this every row from right side 4 times in total = 12 stitches. On next row from right side knit stitches together 2 by 2 = 6 stitches. Cut the yarn and leave approx. 40 cm = 15¾" for assembly. Pull yarn through the remaining stitch, tighten together and fasten. Then sew the hat together in outer loop of edge stitches. Fasten the strand. Hat measures approx. 26 cm = 10¼". ---------------------------------------------------------- SCARF - SHORT OVERVIEW OF THE PIECE: Work piece back and forth on circular needle. SCARF: Cast on 13 stitches on circular needle size 20 mm = US 36 with Polaris. Purl 1 row from wrong side. Then work pattern A.2 back and forth on needle. REMEMBER THE KNITTING GAUGE! When A.2 has been worked vertically, repeat diagram vertically 2 more times (= 3 repetitions vertically). Piece now measures approx. 180 cm = 66". Work 3 ridges back and forth over all stitches. Bind off. Scarf measures approx. 188 cm = 74". FRINGES: Make 7 fringes at each end of scarf. FRINGE 1: Cut 2 lengths of yarn of 38 cm = 15". Place them double, thread loop from right side between edge stitch in bind-off edge. Then pull yarn ends through loops and tighten. Work 6 more fringes the same way and fasten them along bind-off edge. Repeat along cast-on edge. To make the fringes hang nicely they should be moistened, shaken and dried. |
|||||||
Diagram explanations |
|||||||
|
|||||||

|
|||||||
|
Have you made this or any other of our designs? Tag your pictures in social media with #dropsdesign so we can see them! Do you need help with this pattern?You'll find tutorial videos, a Comments/Questions area and more by visiting the pattern on garnstudio.com. © 1982-2024 DROPS Design A/S. We reserve all rights. This document, including all its sub-sections, has copyrights. Read more about what you can do with our patterns at the bottom of each pattern on our site. |
|||||||


With over 40 years in knitting and crochet design, DROPS Design offers one of the most extensive collections of free patterns on the internet - translated to 17 languages. As of today we count 304 catalogs and 11422 patterns - 11417 of which are translated into English (US/in).
We work hard to bring you the best knitting and crochet have to offer, inspiration and advice as well as great quality yarns at incredible prices! Would you like to use our patterns for other than personal use? You can read what you are allowed to do in the Copyright text at the bottom of all our patterns. Happy crafting!
Comments / Questions (8)
Dans le modèle d écharpe que j ai choisi vous parlez d'aiguilles circulaire mais vous ne mentionnez pas les aiguilles normale dois je prendre le même numéro que les aiguilles normale et ça Se tricote delà même façon que les aiguilles circulaires ?
28.10.2023 - 20:42DROPS Design answered:
Bonjour Mme Granon, tout à fait, on tricote en allers et retours sur aiguille circulaire comme sur aiguille droite - voir cettevidéo. Retrouvez plus d'infos sur les aiguilles circulaires ici. Bon tricot!
30.10.2023 - 16:19What is the best method for joining two ßtrands of Polaris? It is such a thick yarn.
29.10.2021 - 00:28DROPS Design answered:
Hi Helen, With the thicker yarns we recommend that you splice the yarn to half the thickness on both the old and the new strand. Cut away one half on each strand and then join the 2 half-thickness strands together. Happy knitting!
29.10.2021 - 07:25Why doesn't the pattern diagram for Drops 204-45 print out with the pattern instructions? Usually I get the pattern diagrams along with the instructions when I hit " print". I checked my printer instructions and it should print everything.
27.10.2021 - 20:41DROPS Design answered:
Dear Helen, sometimes, the webpage works more slowly due to high web traffic, which may cause the diagrams not to download alongside the written instructions. In that case, please try again later and it should give you no problems. Happy knitting!
01.11.2021 - 12:12Hur kan det bara vara 32 maskor till mössan? Det når ju inte runt huvudet? Bara halvvägs?
01.12.2020 - 14:25DROPS Design answered:
Hej Felicia, husk at du skal have 7 masker på 10 cm :)
01.12.2020 - 15:41Salve volevo sapere come faccio a convertire il modello della sciarpa dai ferri circolari a quelli dritti? Grazie in anticipo per la risposta
26.10.2020 - 16:27DROPS Design answered:
Buongiorno Jenny. Le istruzioni sono per una lavorazione in ferri di andata e ritorno. Può quindi lavorare con i ferri dritti e seguire le indicazioni date, senza dover apportare modifiche. Buon lavoro!
26.10.2020 - 20:54Me gusto mucho, lo voy a hacer. Muchas Gracias. por poner el patron gratis.
03.10.2020 - 23:58Jose y Tony Me gusto mucho lo voy a hacer. Muchas gracias.
03.10.2020 - 23:55Hi there, What is meant by "Work 3 ridges back and forth over all stitches" for the scarf? I understood everything up till this point and am now really confused!
20.09.2020 - 00:14DROPS Design answered:
Dear Kathryn, it means that you knit 6 rows with knit stitches on all the stitches.. 6 rows = 3 ridges, that shows up when you knit garter stitch. Back and forth as not in the round, I hope thishelps. Happy Knitting!
20.09.2020 - 02:09