
Popular categories
Looking for a yarn?


|
|
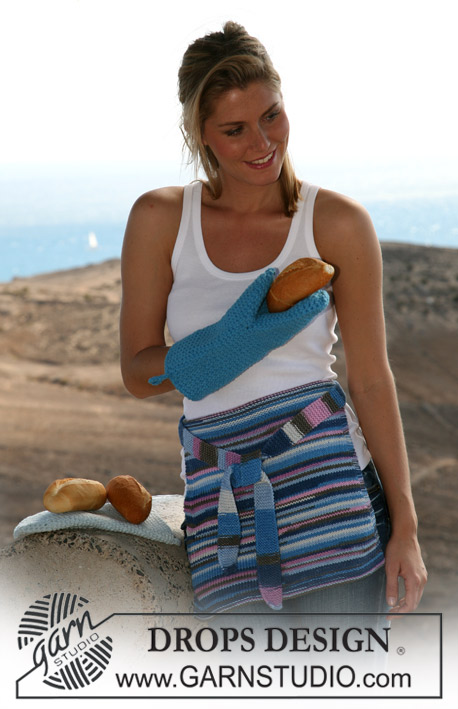
Provence Kitchen |
|
|
|
|
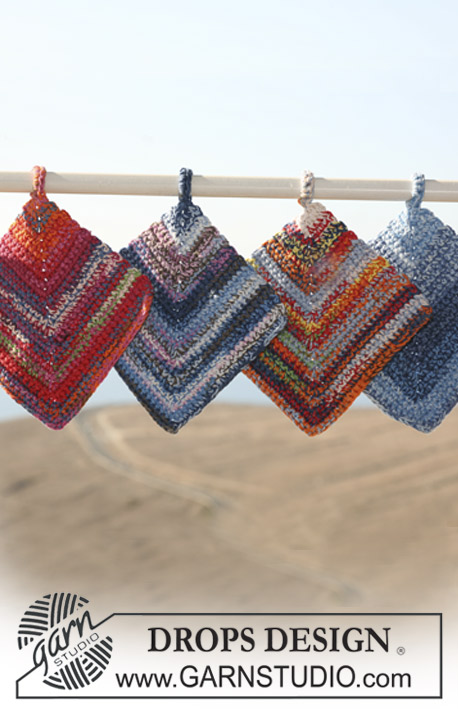
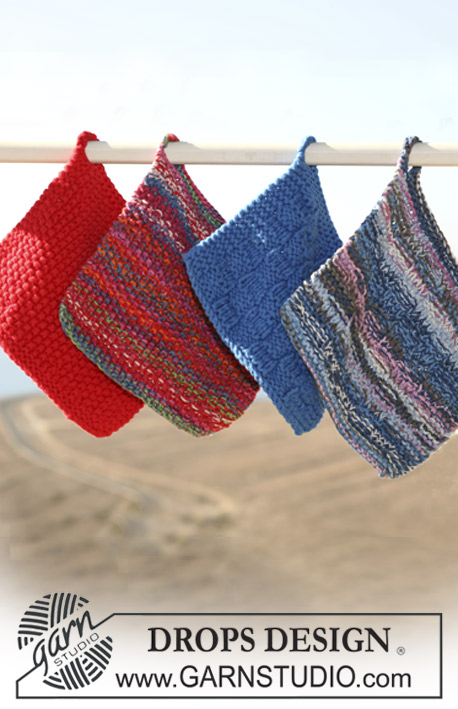
Set comprise: DROPS ridge knit kitchen hand towel with loop in ”Bomull-Lin”, crochet bread basket in ”Bomull-Lin” and ”Cotton Viscose” and ridge knit pot holder with loop in ”Ice” or ”Bomull-Lin”.
DROPS 107-30 |
|
|
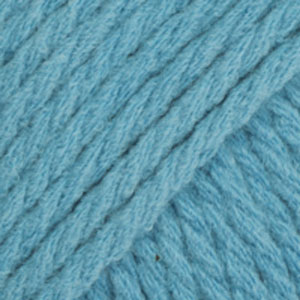
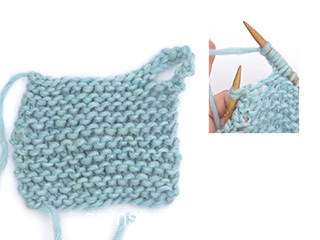
Ridge (back and forth on needle): 1 ridge = 2 rows garter sts. Kitchen hand towel: Cast on 58 sts on needle size 3.5 mm [US 4]. Knit ridges - see explanation above - until piece measures approx 40 cm [15,75"]. Knit next row with built in loop as follows: Knit until 2 sts are left on row. Before the last 2 sts cast on 9 new sts on row, then knit 2 last sts on row tog. On next row bind off all sts in garter sts (incl the new sts for built in loop). ________________________________________________________ Crochet DROPS bread basket in "Bomull-Lin" and "Cotton Viscose" Size: One-size Materials: DROPS Bomull-Lin from Garnstudio 100 g colour no 02 off white, or 03 linnen and use DROPS Cotton Viscose 100 g colour no 02 off white, or colour no 17 light beige DROPS Crochet hook size 4 mm [US G/6] - or the crochet hook you need to make 15 sc in width and 16 rows in height with 1 thread of each yarn quality = 4" x 4’. Bread basket: 1st round: Remember crochet gauge! Crochet 2 ch with 1 of thread of each yarn quality (= 2 threads) on crochet hook size 4 mm [US G/6]. Crochet 7 sc in 1st ch, finished sts with 1 sl st in 1st sc = 8 sc. Insert 1 marking thread (MT) or place marker (PM) at beginning of round. Continuing crochet in the round as follows: 2nd round: Crochet 2 sc in each sc = 16 sc. 3rd round: Crochet * 1 sc in first sc, 2 sc in next sc * repeat from *-* = 24 sc. 4th round: Crochet 1 sc in each sc = 24 sc. 5th round: Crochet * 1 sc in each of first 2 sc, 2 sc in next sc * repeat from *-* = 32 sc. 6th round: Crochet 1 sc in each sc = 32 sc. 7th round: Crochet * 1 sc in each of first 3 sc, 2 sc in next sc * repeat from *-* = 40 sc. Continue inc as follows on each round with 1 sc more between each inc until 13 rows are crochet in total = 88 sc. Continuing crochet 2 next rows as follows: 1st round: Crochet * 1 ch, skip 1 sc, 1 sc in next sc *, repeat from *-*. 2nd round: Crochet * 1 sc around ch, 1 sc in next sc *, repeat from *-*. Continuing crochet 1 sc in each sc until piece measures 5½"-7" measured from sc /ch round. Crochet 1 round with * 1 ch, skip 1 sc, 1 sc in next sc *, repeat from *-*. Cut and sew threads. Fold top edge double. ________________________________________________________ DROPS ridge knit pot holder with loop in "Ice" or "Bomull-Lin", Set comprises 2 pot holders. Measurement: Appr. 28 x 19 cm [11"x 7½"] Materials: DROPS Ice from Garnstudio 100 g colour no 02 off white, or 03 ice blue or: DROPS Bomull-Lin from Garnstudio 50 g colour no 02, off white 50 g colour no 03, linnen DROPS needles size 3.5 mm [US 4] – or the needle size needed to obtain correct knitting gauge 16 sts x 30 rows garter sts with 1 thread "Ice" or with 2 threads Bomull-Lin = 4" x 4’ Ridge (back and forth on needle): 1 ridge = 2 rows garter sts. Pot holder: For even coloured surface use Ice, for rustic surface use Bomull-Lin. Cast on 32 sts with 1 thread Ice or 2 threads Bomull-Lin on needle size 3.5 mm [US 4]. Knit ridges - see explanation above - until piece measures approx 7". Knit next row with built in loop as follows: Knit until 2 sts are left on row. Before the last 2 sts cast on 7 new sts on row, then knit 2 last sts on row tog. On next row bind off all sts in garter sts (incl the new sts for built in loop). |
|
|
Have you made this or any other of our designs? Tag your pictures in social media with #dropsdesign so we can see them! Do you need help with this pattern?You'll find tutorial videos, a Comments/Questions area and more by visiting the pattern on garnstudio.com. © 1982-2024 DROPS Design A/S. We reserve all rights. This document, including all its sub-sections, has copyrights. Read more about what you can do with our patterns at the bottom of each pattern on our site. |


With over 40 years in knitting and crochet design, DROPS Design offers one of the most extensive collections of free patterns on the internet - translated to 17 languages. As of today we count 304 catalogs and 11422 patterns - 11417 of which are translated into English (US/in).
We work hard to bring you the best knitting and crochet have to offer, inspiration and advice as well as great quality yarns at incredible prices! Would you like to use our patterns for other than personal use? You can read what you are allowed to do in the Copyright text at the bottom of all our patterns. Happy crafting!
Comments / Questions (52)
Fine oppskrifter til praktiske gaver også til selv selv
07.01.2008 - 00:35Hallo wo finde ich die Strickmuster hierzu? Danke Sirkka
05.01.2008 - 12:18...ich bin mehr als begeistert. Stricke schon etliche Jahre und war immer auf der Suche nach "modernen" Anleitungen, die ich ja nun endlich bei Ihnen gefunden habe. Gratulation!
26.12.2007 - 08:57Pour une déco originale, très bonne idée
20.12.2007 - 16:48Jättefina, mycket roligare än de som man köper.
19.12.2007 - 23:04Voor een beginnende heel mallelijk te maken kan zelf met kleuren werken
19.12.2007 - 17:17Kul med lite stickat till hemmet.
18.12.2007 - 09:18Vilka söta brödkorgar,kul med nytt.
17.12.2007 - 18:30Somrigt och fint - det skulle jag gärna göra och använda. Särskilt brödkorgarna!
16.12.2007 - 15:30Fint set, det skulle jag gärna vilja göra.
15.12.2007 - 21:11